Manual Deployment
Administrators of the Neon Cyber platform can deploy the Neon Extension through various methods. This article will walk you through the steps push out the Neon extension to users through an email link that. This is a great way to get started with a few users, but for larger organizations, we recommend our managed deployment installations!
User enrollment via email
Section titled “User enrollment via email”Onboarding user(s)
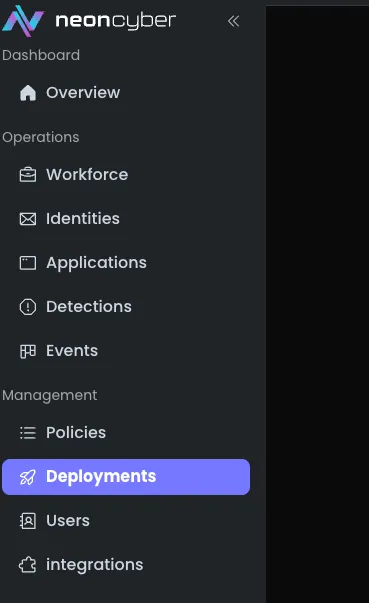
Section titled “Onboarding user(s)”- Navigate to the deployments page
-
Click add user button
-
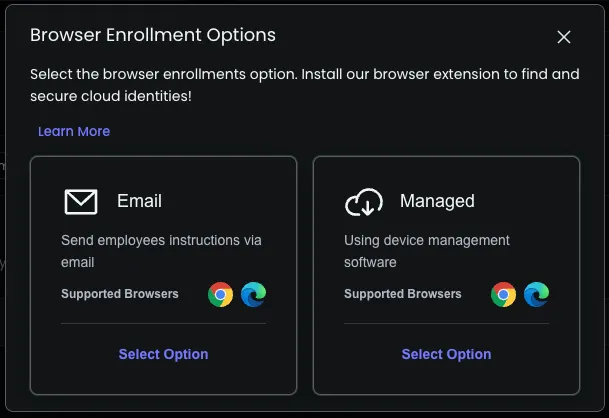
Select email option
Option One: Add users via CSV file
Section titled “Option One: Add users via CSV file”-
Create a .csv, .xls or .xlsx file with two columns. One for Full Name, one for Email. Populate and save the file with the users you wish to register.
-
Drag & Drop the created file into the box, or, select the ‘Choose File’ option to choose your locally saved file.
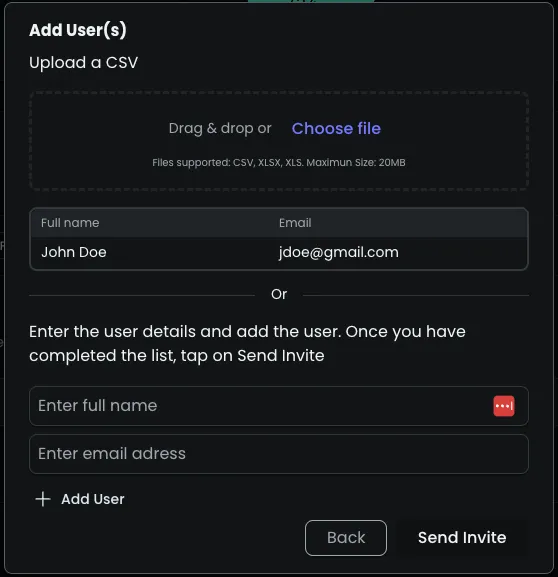
- Once you have uploaded the information for all users, click the send invite button, which will send a registration email to all users in your list.
Option Two: Manual email option
Section titled “Option Two: Manual email option”- Alternatively you can to manually add users individually by entering their full name and email address into the full name and email addresses box and click Add User.
- Once you have entered the information in for all users you would like to add, click the send invite button, which will send a registration email to all users in your list.
End user email
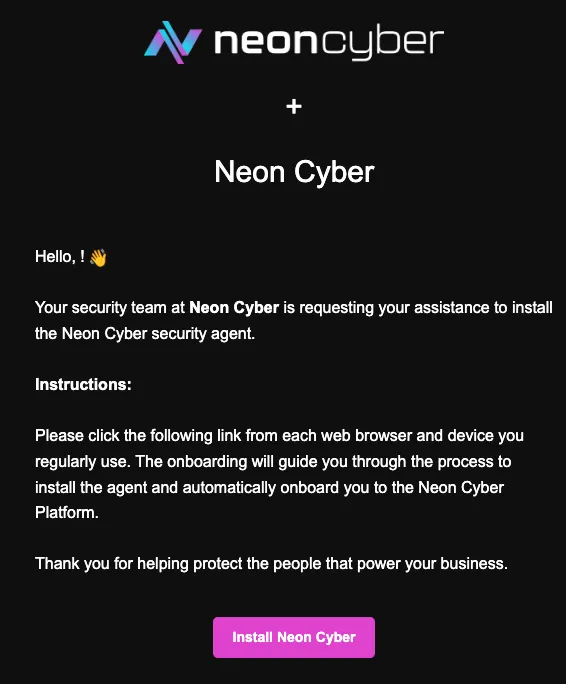
Section titled “End user email”Once the process of either option is complete, the user(s) will receive an email from Neon Cyber (support@neoncyber.io) with a link. This link contains a download directly from the Chrome store and the Neon page will configure the client with all of the necessary information to bind it to your organization.